
How to Make Kilt Flashes
Step-by-Step Instructions
Step 1: Measure and Cut the Fabric
Determine the Length and Width: Kilt flashes typically extend 4 to 6 inches below the top of the kilt hose. Measure the desired length and add an extra 1 inch for hemming. The width of each flash should be around 1.5 to 2 inches. You'll need two strips of fabric for each leg, so cut four strips in total.
Example: For a 5-inch long flash, cut each strip to be 6 inches long (5 inches plus 1 inch for hemming) and 2 inches wide.
Cut the Fabric: Mark the fabric with chalk or a fabric marker and cut out the strips using your measurements. Ensure the cuts are straight and even.
Step 2: Create the Hem
Fold and Pin the Edges: Fold each long edge of the fabric strips inward by 0.5 inches and press with an iron. Pin the folded edges to hold them in place.
Sew the Hem: Using a sewing machine or needle and thread, sew along the folded edges to create a clean hem. This will prevent the fabric from fraying and give it a polished look.
Step 3: Shape the Flashes:
Create the V-Shape: The bottom of each flash should be V-shaped. To achieve this, fold the fabric strip in half lengthwise. Measure 1.5 inches up from the bottom and mark a point. Draw a diagonal line from each corner to the marked point, forming a V. Cut along these lines.

Hem the V-Shape: Fold the edges of the V inward by 0.5 inches, press, and pin them in place. Sew along the folded edges to complete the hem.
Step 4: Attach the Elastic Band
Measure the Elastic: Measure the circumference of your calf just below the knee where the flashes will sit. Cut two pieces of elastic band to this length.
Attach the Velcro: Sew one side of the Velcro to one end of the elastic band and the corresponding side to the other end. This will allow you to fasten the elastic securely around your calf.
Step 5: Assemble the Flashes
Attach the Flashes to the Elastic: Lay one fabric strip over the elastic band, positioning it so that the top of the flash sits just below the top. Sew the fabric strip to the elastic band, ensuring it's secure. Repeat this for each flash.
Create the Pairs: Once all four fabric strips are attached to the elastic bands, pair them up so each leg has two flashes. Position the flashes evenly spaced and sew them together at the top.
Step 6: Final Touches
Iron the Flashes: Give your kilt flashes a final press with an iron to ensure they lay flat and look neat.
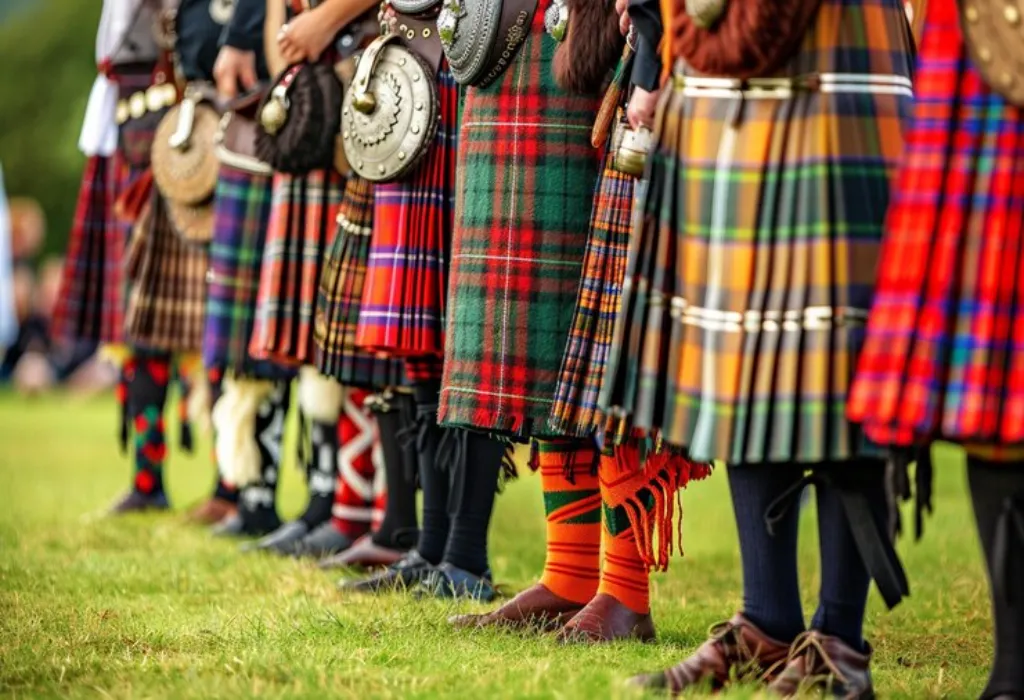
Try Them On Using the Velcro fasteners, put on your kilt hose and secure the flashes around your calf. Adjust the position as needed to ensure they sit comfortably and look even.
Tips for Making Perfect Kilt Flashes
Choose Quality Fabric: The fabric you select should complement your kilt and be durable enough to withstand regular wear.
Take Accurate Measurements: Precision is key when measuring and cutting the fabric and elastic bands.
Practice Your Sewing Skills: If you're new to sewing, practice on scrap fabric before working on your kilt flashes.
Personalize Your Flashes: Add a personal touch by choosing unique fabric patterns or adding decorative elements like embroidery.
Variations and Customizations
While traditional kilt flashes are simple and understated, there are many ways to customize them to suit your style:
Embroidery: Add embroidered designs or initials to your flashes for a personalized touch.
Tassels or Fringe: Attach tassels or fringe to the bottom of the flashes for a decorative flair.
Different Fabrics: Experiment with different fabrics, such as velvet or satin, for a unique look.
Layered Flashes: Create a layered effect by using multiple strips of fabric in varying lengths and colours.
Care and Maintenance
To keep your kilt flashes looking their best:
Wash and Iron: Regularly wash your kilt flashes according to the fabric care instructions and iron them to maintain their shape.
Store Properly: Store your flashes flat or gently rolled to prevent creasing.
Inspect for Wear and Tear: Check for any signs of fraying or damage and repair as needed.
Conclusion
Making your kilt flashes is a rewarding project that allows you to add a personal touch to your kilt attire. Following this comprehensive guide, you can create high-quality, customized kilt flashes that enhance your look. Whether you're preparing for a special event or want to elevate your everyday kilt ensemble, these handmade flashes will make a statement. Remember to take your time, pay attention to detail, and enjoy the process of crafting a piece of traditional Scottish heritage.